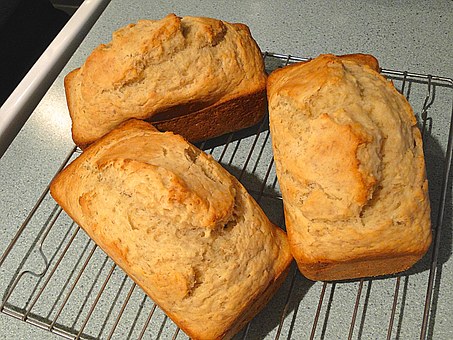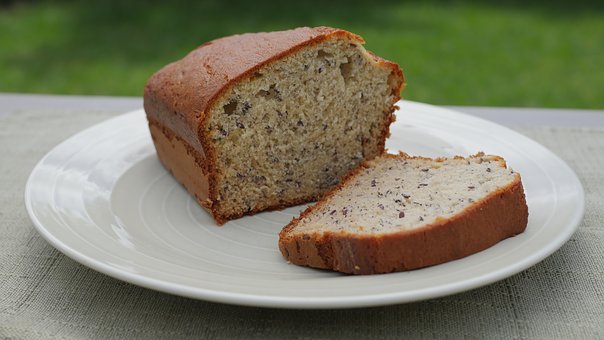
This banana bread has been the most popular recipe for over 10 years. Thousands of people make it every day. Why?Because it really is the best banana bread recipe, period. You can mix everything in one bowl, you can vary the amount of sugar or bananas. And the secret to its great flavour? Melted butter.
The beauty of this banana bread recipe is you don’t need a fancy mixer! A mixing bowl, a fork to whisk the eggs and a sturdy spoon to mix the batter are all you need. The sugar amount is flexible. The original recipe called for a cup of white sugar, but most people, including me, do just fine with 3/4 of a cup, and many are happy with a 1/2 cup.
You can toss in a cup of chopped nuts, raisins, or chocolate chips if you want, or put the batter into muffin tins and make banana nut muffin

What you need:
- 2 eggs
- 1¾ c. sifted flour
- 2 tsp. baking powder
- ¼ tsp. baking soda
- ½ tsp. salt
- 1/3 c. melted butter
- 2/3 c. sugar
- 1 c. mashed bananas (about 3 bananas)
What to do:
- Preheat the oven to 350° F (180° C).
- Beat eggs well in a small bowl.
- In a medium-size bowl, sift together the flour, baking powder, baking soda, and salt.
- In a large bowl, add the vegetable oil. Add the sugar a little bit at a time, and continue beating until the mixture is fluffy.
- Add the eggs to the mixture in the large bowl and beat well.
- Add some of the flour mixture to the large bowl and beat well. Then add some of the mashed bananas and beat some more. Continue adding flour, then bananas, then flour, then bananas, until everything is mixed in.
- Pour mixture into a baking pan coated with nonstick spray. Bake for 70 minutes.
- Flip your banana bread out of the pan, let it cool for a bit, and cut it into slices to eat and share!
Nutritional analysis (per serving):
145 calories
2 g protein
5 g fat
24 g carbohydrate
1 g fiber
27 mg cholesterol
155 mg sodium
37 mg calcium
0.8 mg iron
Serves: 16
Serving size: 1 slice
Note: Nutritional analysis may vary depending on ingredient brands used.
Suggestion:
If you like nuts, add chopped walnuts during Step 6.

No Comments